


The AEC technology industry has been seeing increasing momentum in the extension of the model-based concept of BIM to the design and development of infrastructure projects such as roads, railways, and bridges, with several tools targeted towards civil engineers. (See the recent article, “BIM Software for Infrastructure.”) However, tools that extend BIM to the comparatively smaller domain of landscape architecture are almost non-existent. For the most part, landscape architects are still working in 2D CAD, even if the corresponding building design has been done using BIM. Not only does this prevent landscape architects from availing of the many benefits of BIM that their architectural and engineering colleagues are enjoying, it also makes it difficult for them to be an integral part of the building team early on when the most critical decisions about the building design are made.
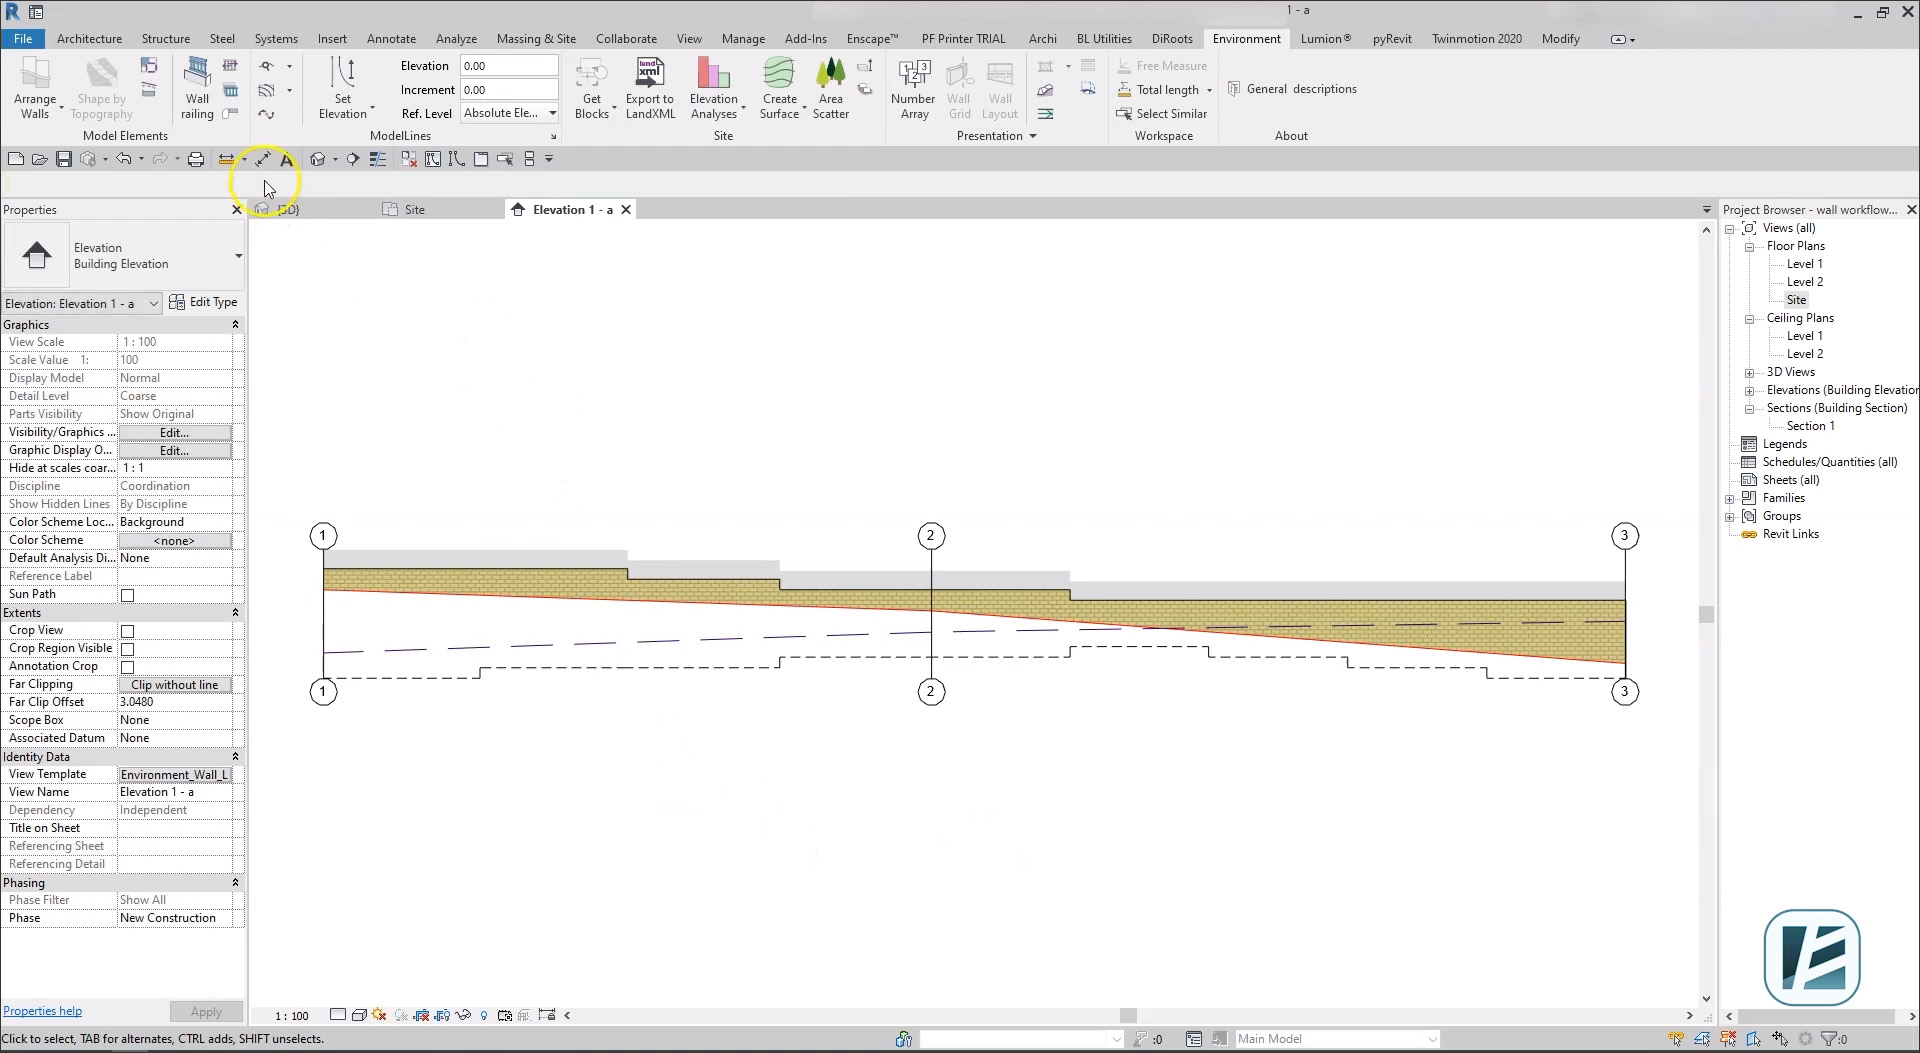
Of course, it can be argued that landscape architects don’t need a separate BIM tool — they can just use the BIM tools the architects are using. While this is true to a certain extent — there are some outdoor structures such as steps, planters, walls, decks, pergolas, gazebos, etc. for which the same BIM tool that is being used for architectural design can be used — there are other functionalities such as creating terrain models, modeling retaining walls along slopes, planning the planting strategy, designing parking, drawing up irrigation plans, etc., which require dedicated tools. These additional capabilities are well suited to being developed in the form of a plug-in to a BIM application, and I recently came across one for Revit called Environment (Figure 1). Let’s see what it can do for landscape architects.
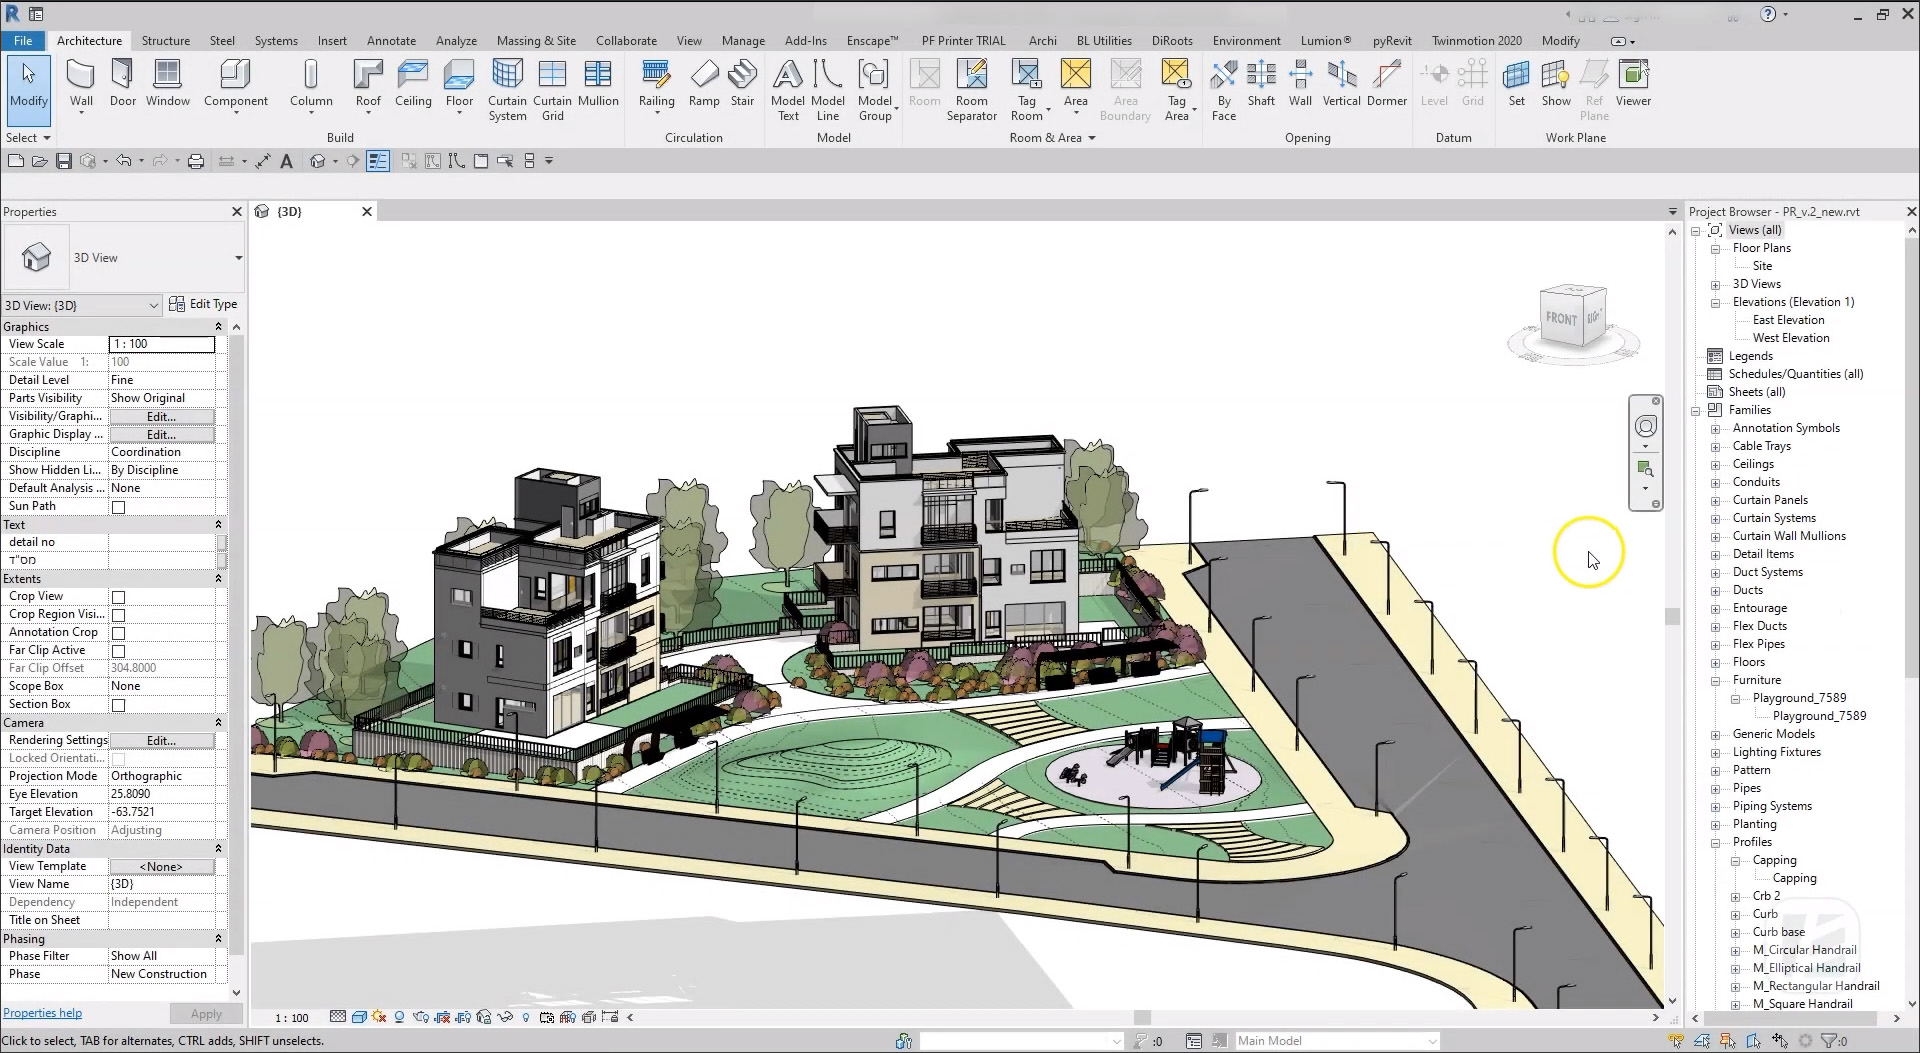
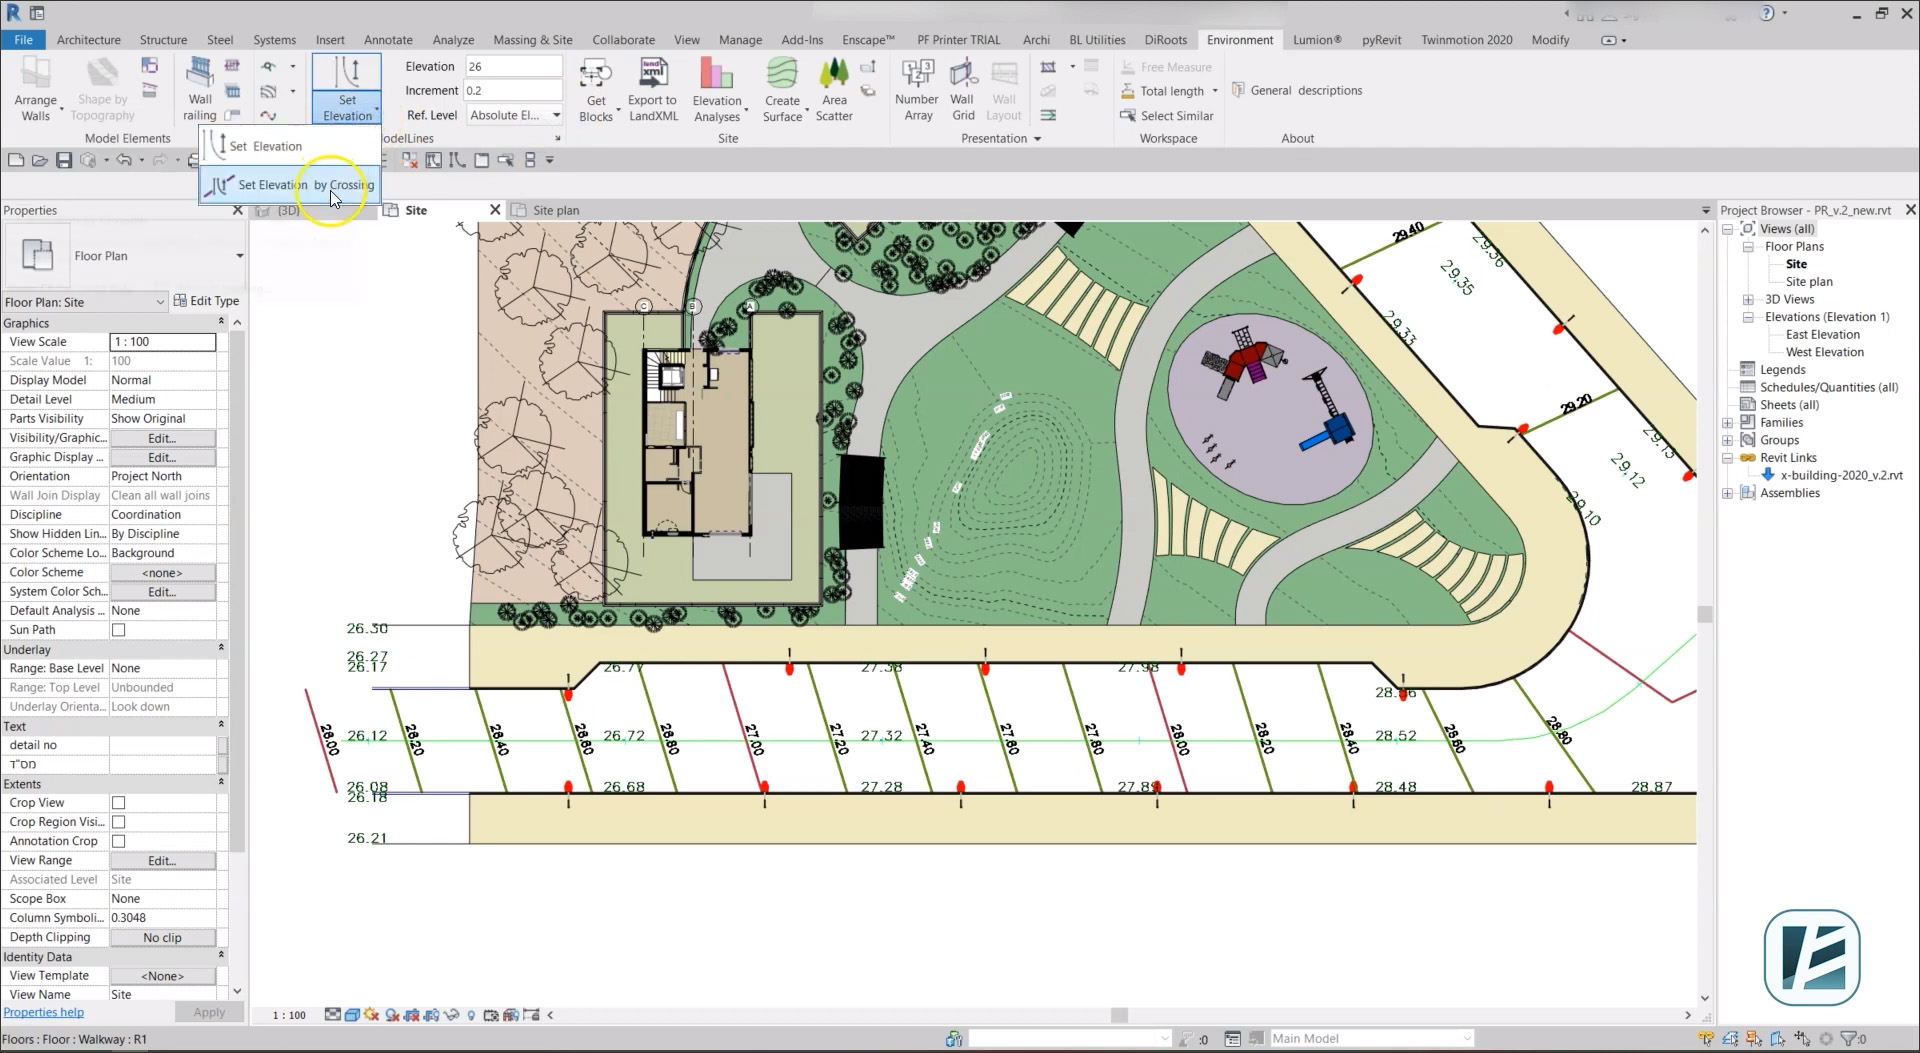
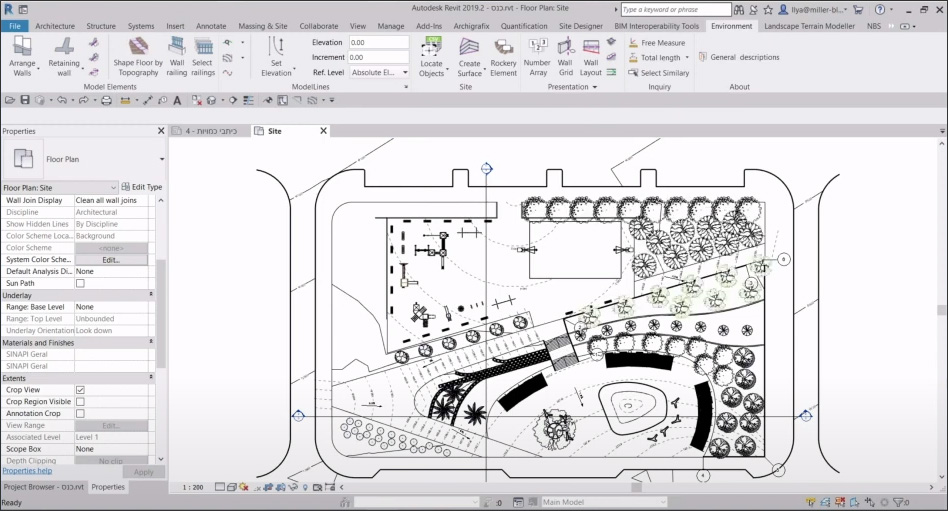
Environment is a plug-in to Revit that extends its capabilities for site and landscape design. Its development was started close to four years ago by a group of professional landscape architects who were frustrated at not being able to continue working with the same Revit model that had been developed by the building design team. The company that develops the Environment plug-in, Arch-intelligence, is a member of the Autodesk Developer Network, and the plug-in is listed in the Autodesk App Store. A fully-functional version of the plug-in is available free of charge for thirty days, and can be downloaded from the Arch-intelligence website. Once installed, it adds a ribbon to the Revit toolbar with landscape-specific tools in different categories as shown in Figure 2.

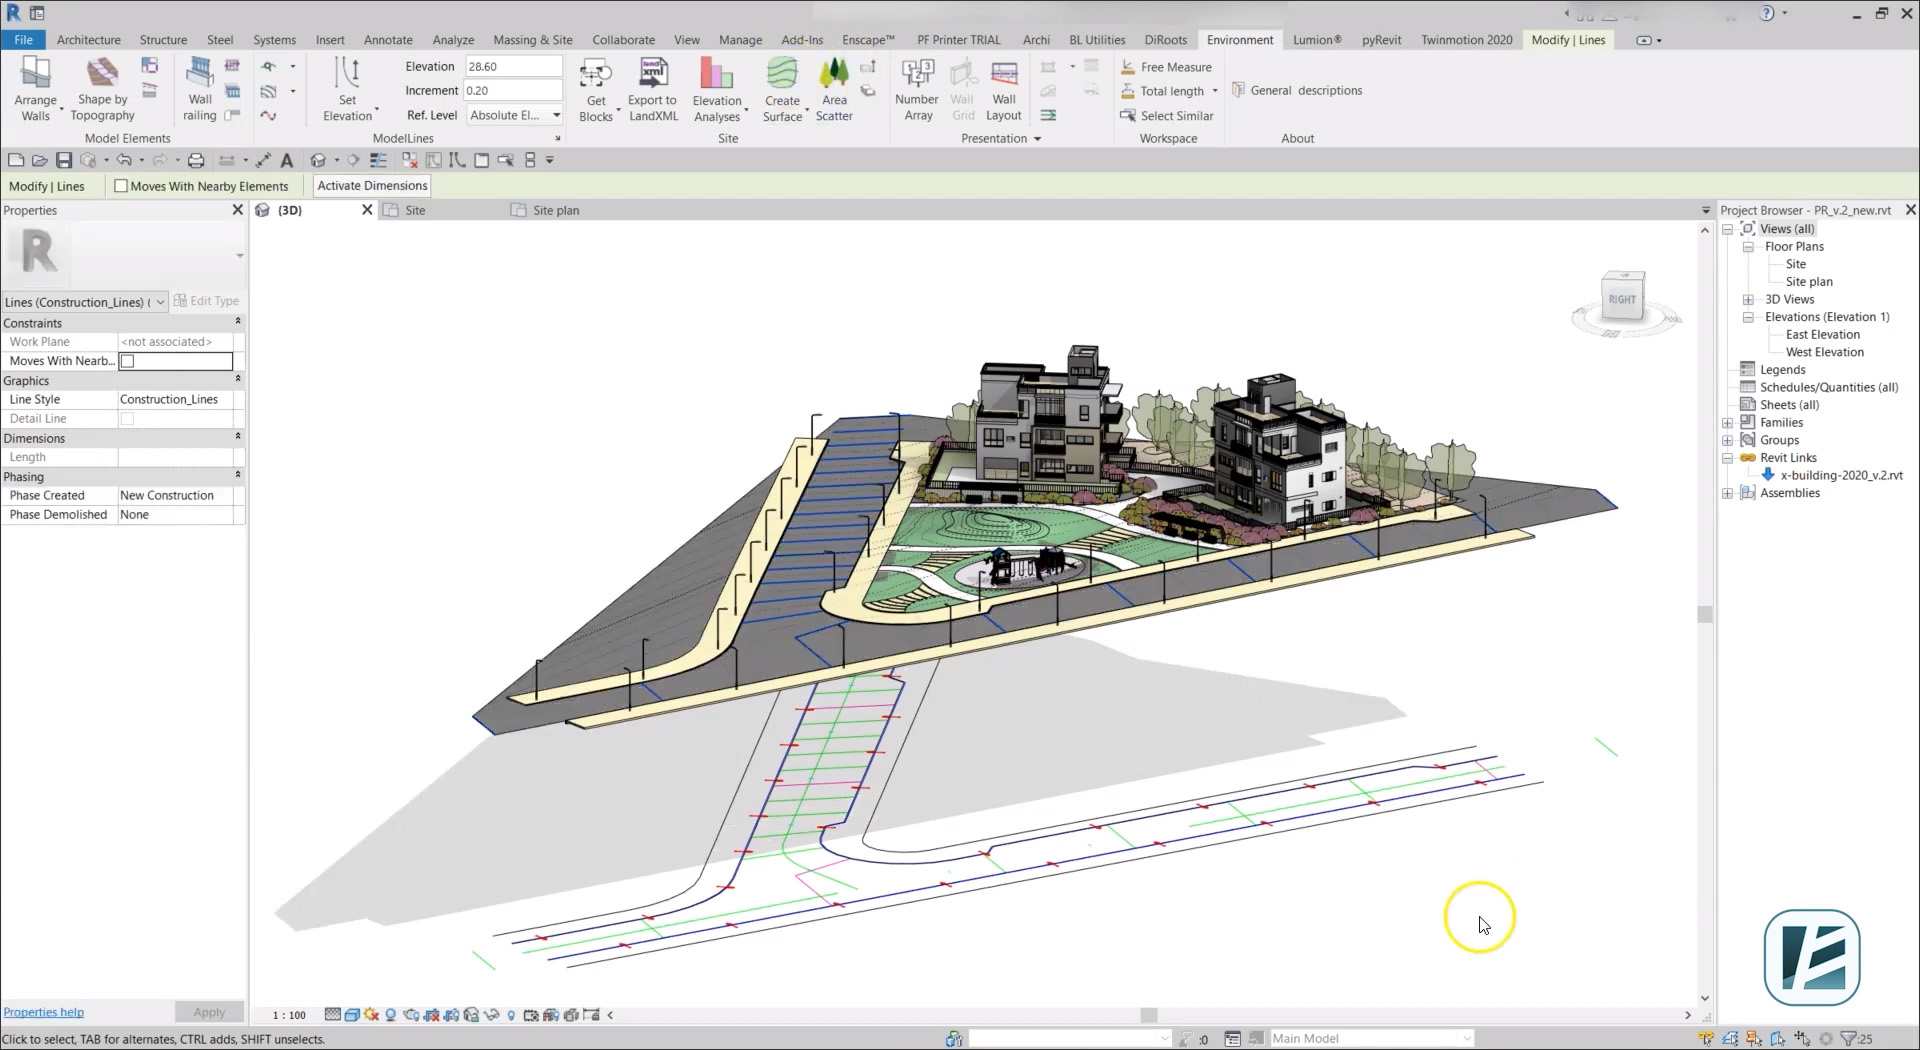
Unlike the inside of a building which comprises flat slabs for the most part with stairs as needed, the outside of a building typically involves working with terrain that is sloped, even if slightly. This requires landscape architects to design and edit topography, which the Environment plug-in facilitates in two ways. The first is by creating a topographic surface from scratch with contour lines (Figure 3). These lines are drawn as flat model lines in Revit, or they can be imported from a CAD file. You can then use the tools in the Environment plug-in to quickly place these lines at the correct heights, define the surface from the contours, apply it to a regular Revit slab object to shape it according to the surface, and finally assign dynamic contour lines to the slab with the corresponding height elevation labels.
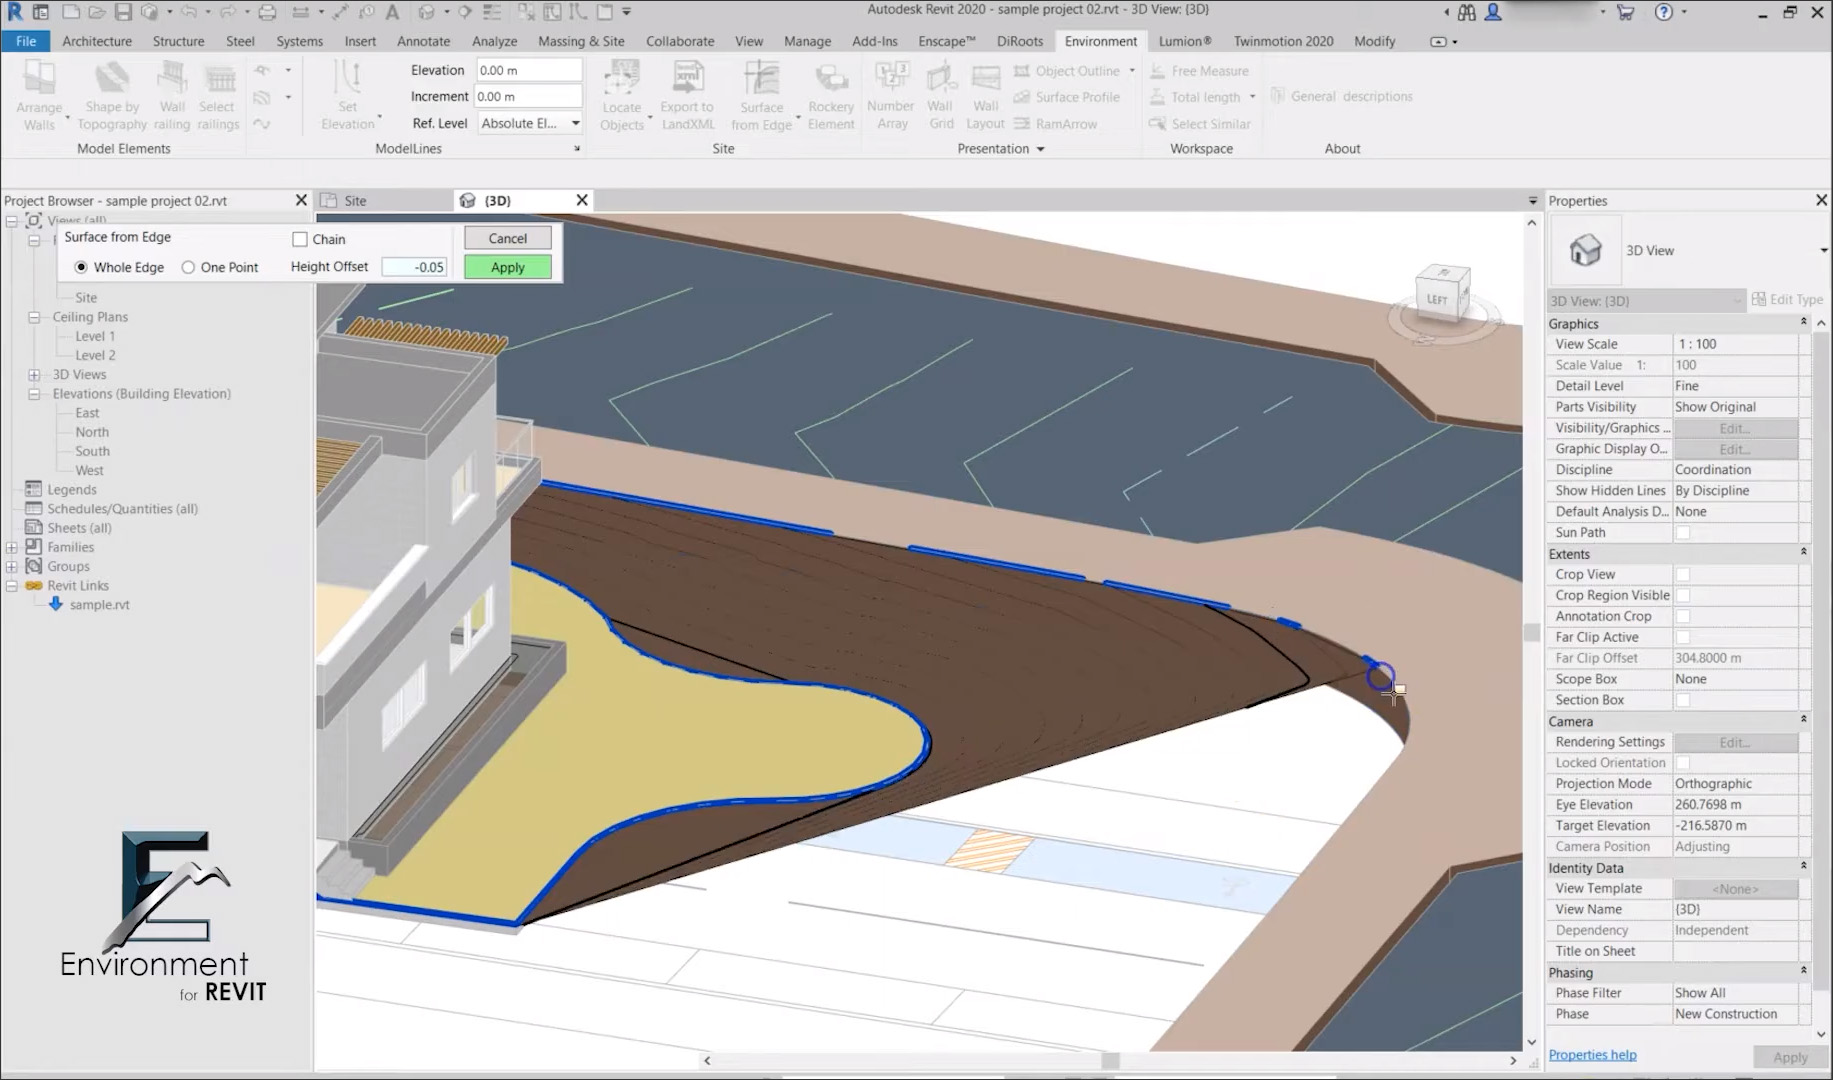
You can also create a topographic surface simply by selecting the edges of existing elements that are adjacent to it, as shown in Figure 4, when this option is available.
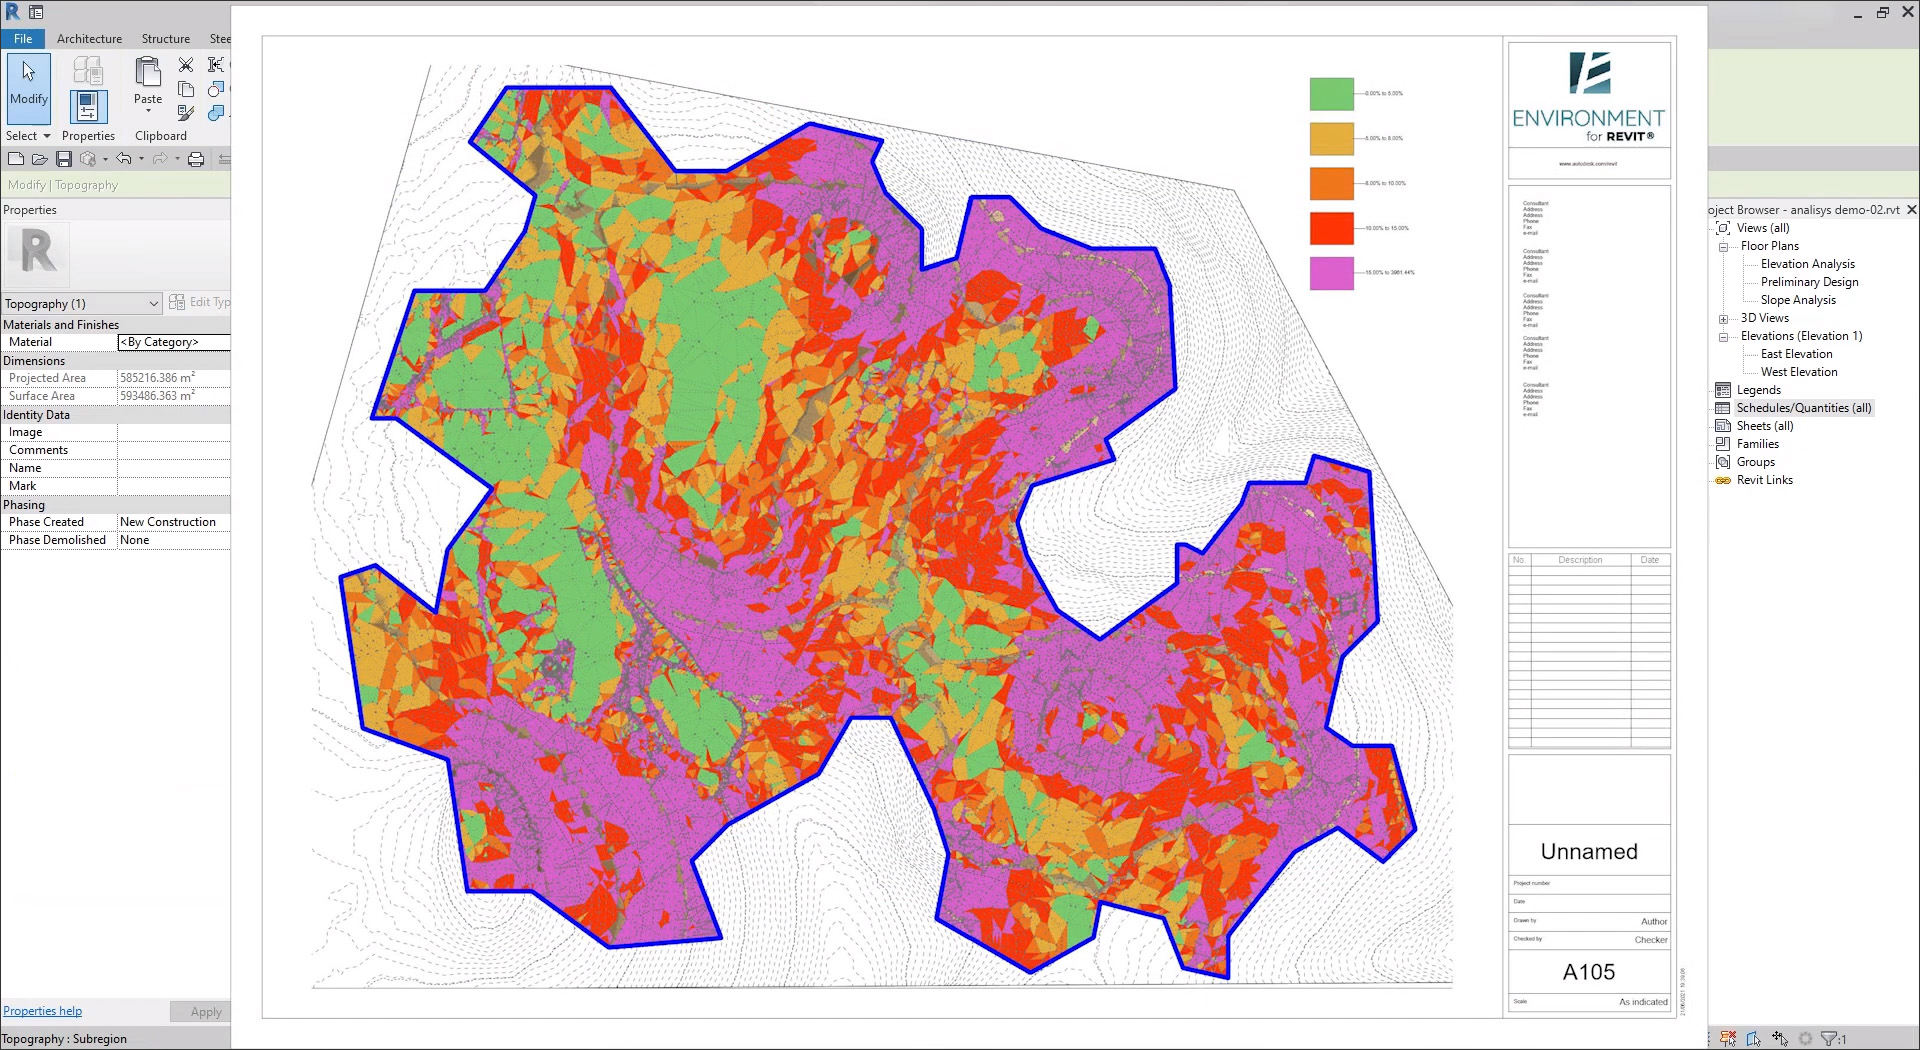
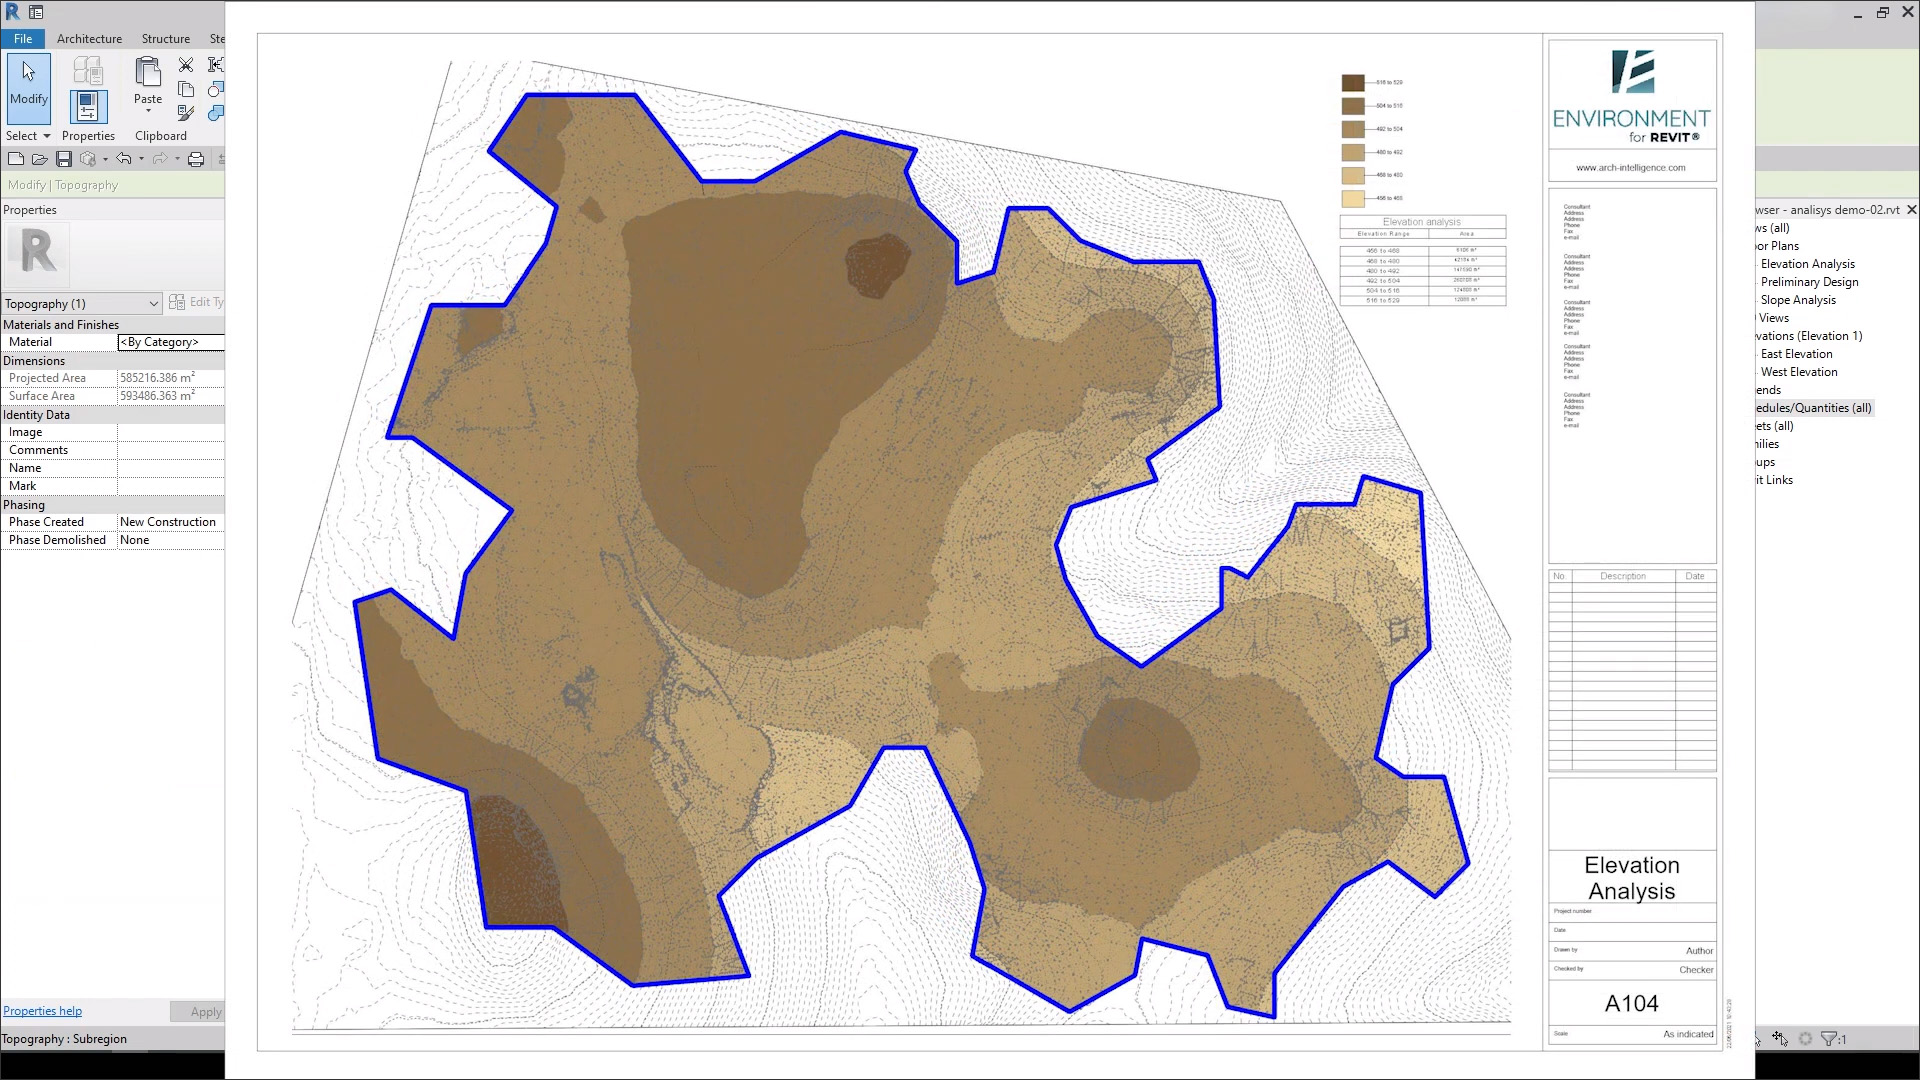
Another useful feature in the Environment plug-in is the ability to visualize the topography through a color-coded display of its slopes as well as its elevations (Figure 5). This at-a-glance visual analysis is particular useful in the early design phase to provide a better understanding of the existing terrain, not just to the landscape architect but also to the building architect of the project. The different values for the slope and elevation ranges and the corresponding color settings can be customized as required. In addition to the visual analysis, the average slope and elevation values can also be quickly calculated, and a detailed schedule showing the areas of each of the defined slope ranges can be generated.
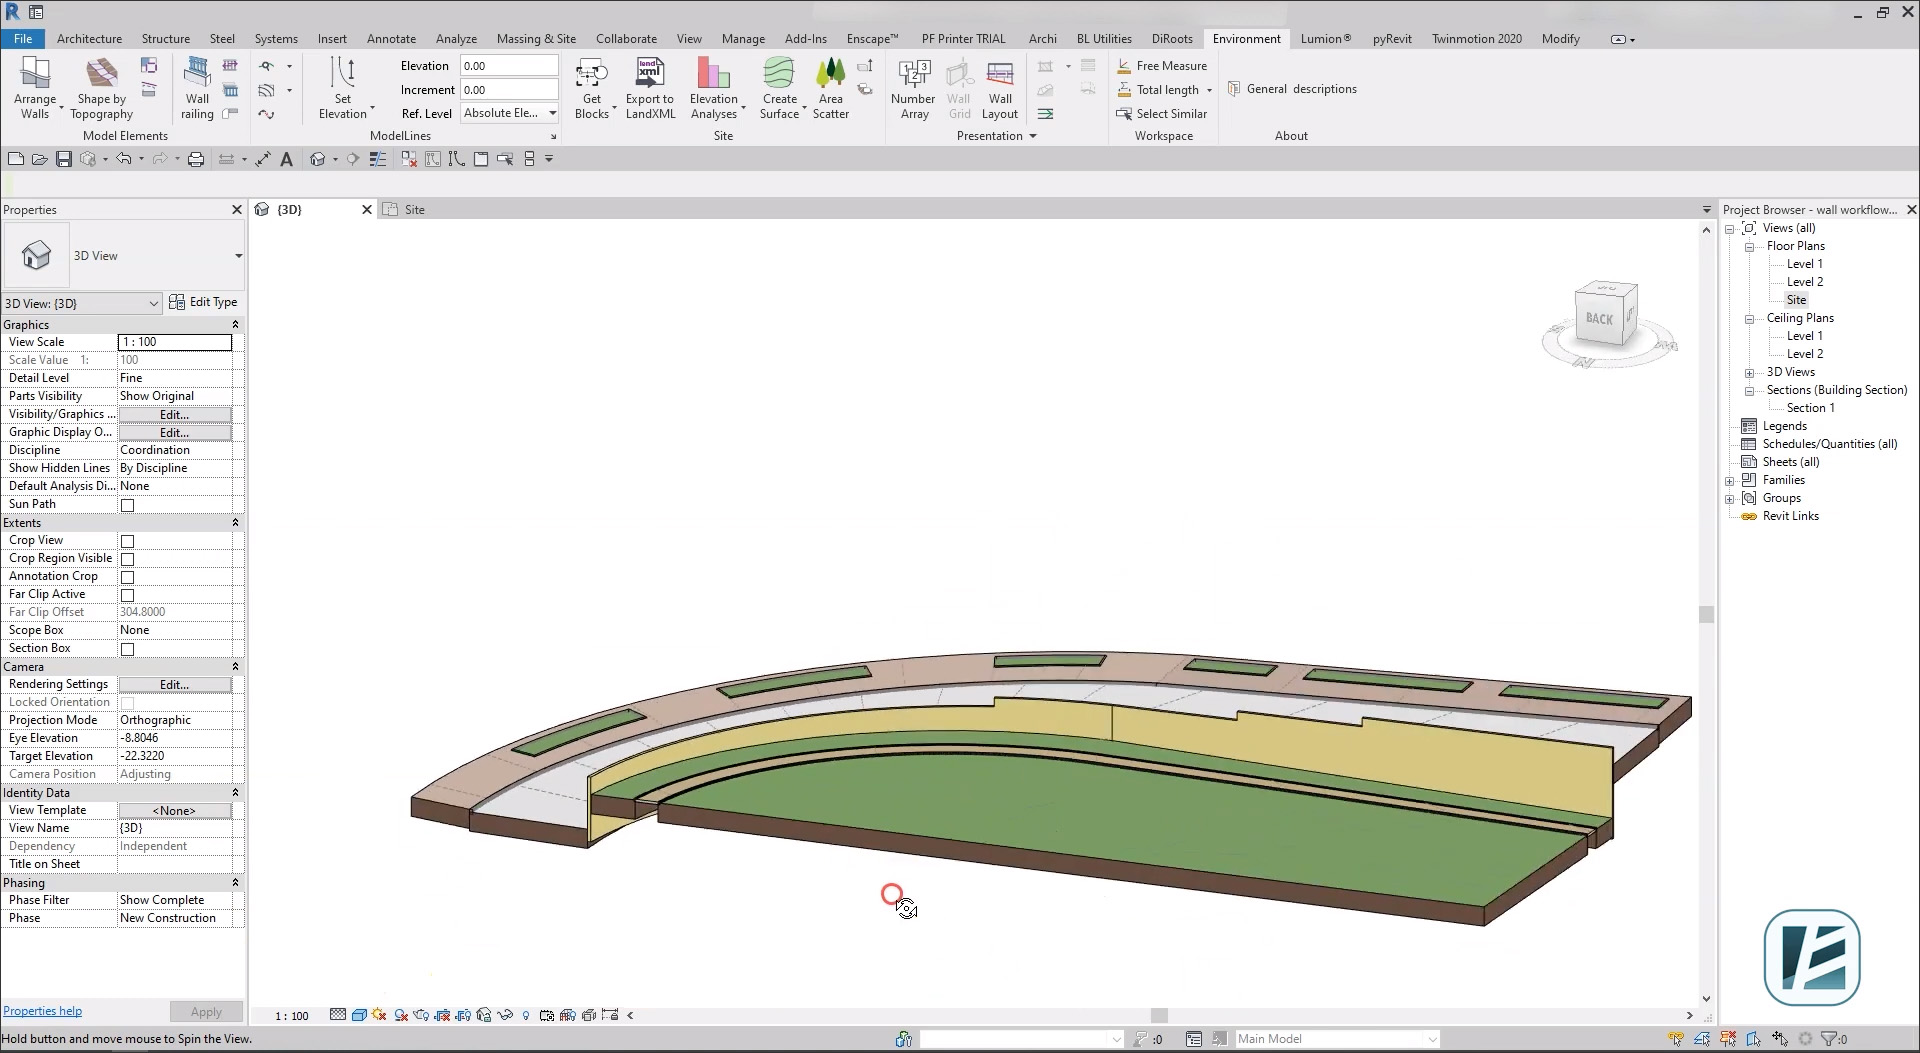
Unlike building architecture where walls typically run from one level to another, both of which are usually flat, walls on the site run along sloped terrains and have to be modeled taking the slope into account. An example is shown in Figure 6. Creating a stepped wall to follow the slope and adjusting the heights of the multiple segments can be a time-consuming process in Revit, but it is greatly simplified by tools in the Environment plug-in, which can determine the number of wall segments required and the height of each segment based on the height of the terrain on both sides of it.
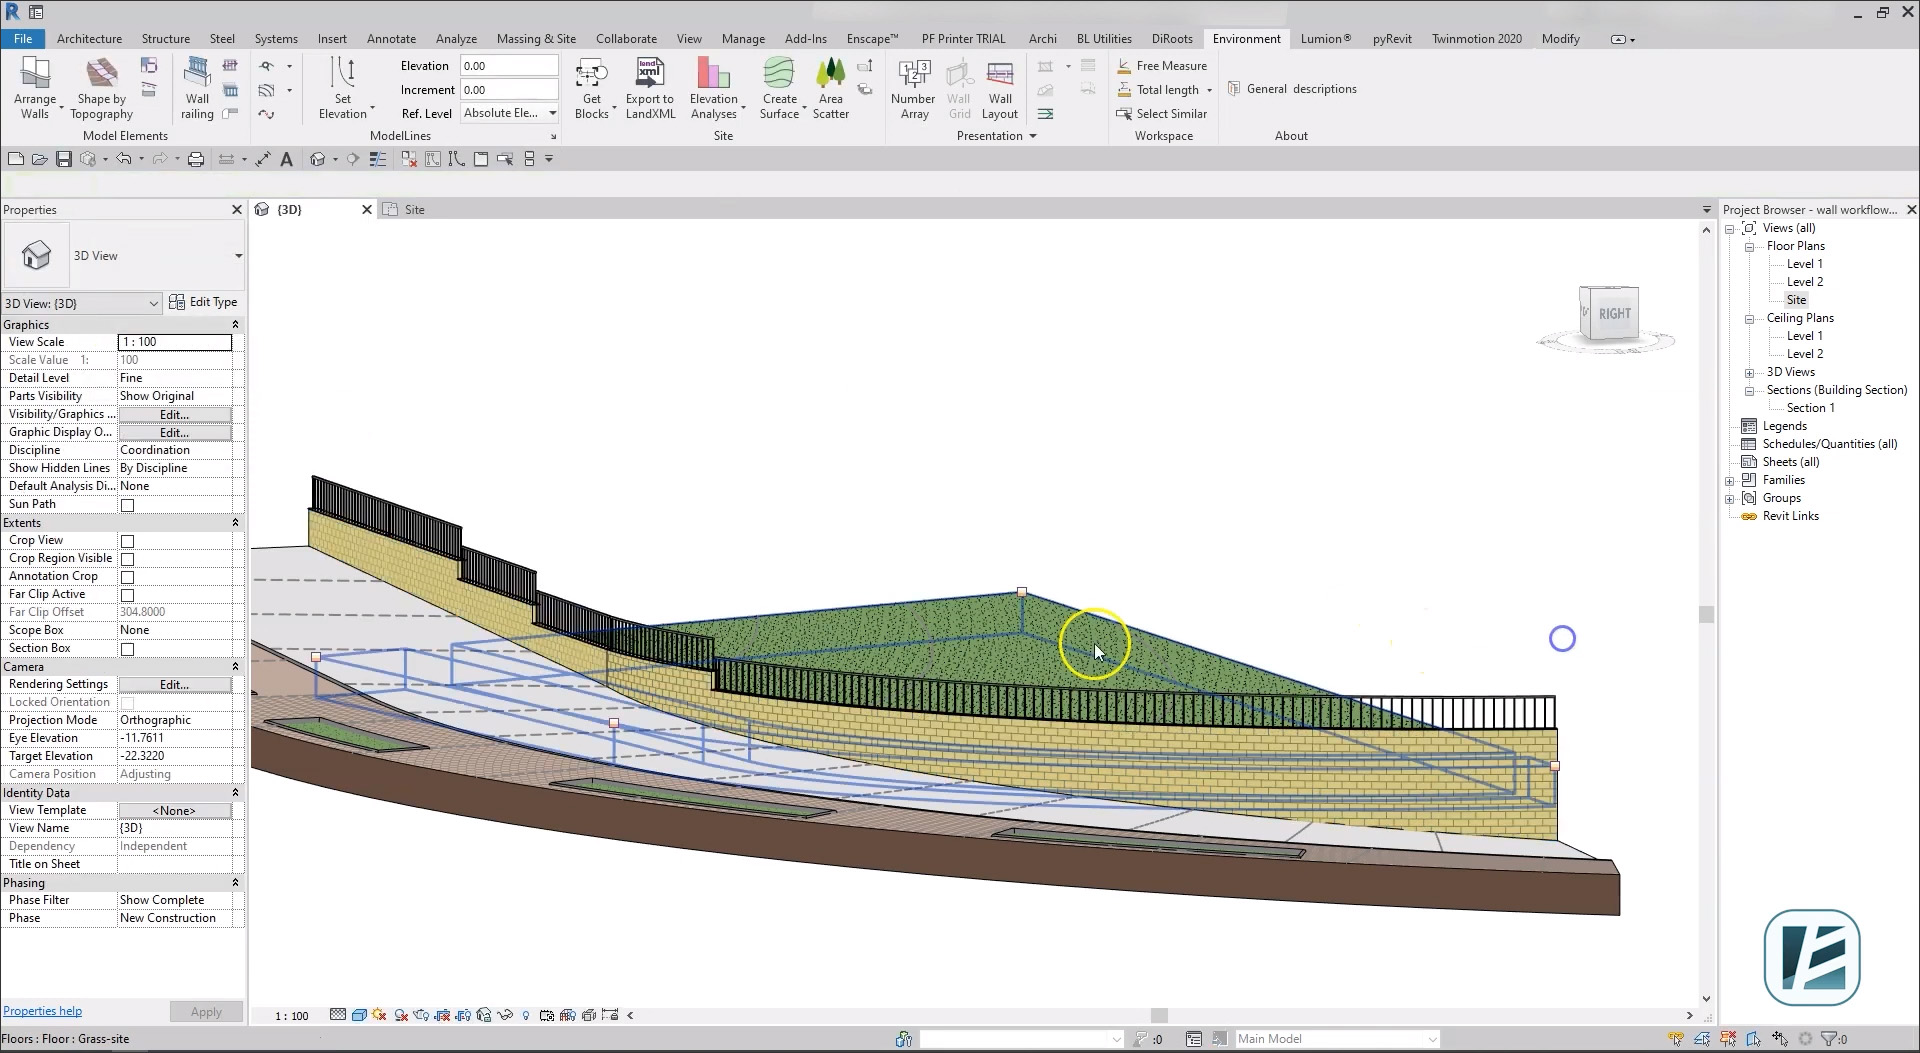
In addition to the modeling of the wall, the placement of railings on its multiple segments can also be automated. Instead of placing a railing object on each individual wall segment as you would do in Revit, a tool in the Environment plug-in lets you create the entire railing in one step, with the different railing segments created automatically to match the heights of their corresponding wall segments (Figure 7). And this being a BIM model, if the height of any of the wall segments is changed, the railing on that wall is also automatically updated.
With the Environment plug-in, you can also create an unfolded elevation view of the wall chain for documentation, which is especially useful when the wall is curved, as shown in Figure 8.
Some additional capabilities of the plug-in include a tool to place elements by area. In addition to the elements that are to be placed and the surface they are to be placed on, you can define the placement pattern, such as an array or a grid. So, for example, you could select a tree and disperse it in an area according to a specific grid, or you can select a mix of shrub types to disperse, making it look like a random placement (Figure 9). While this feature would be commonly used for landscape design, it can also work with any other Revit element.
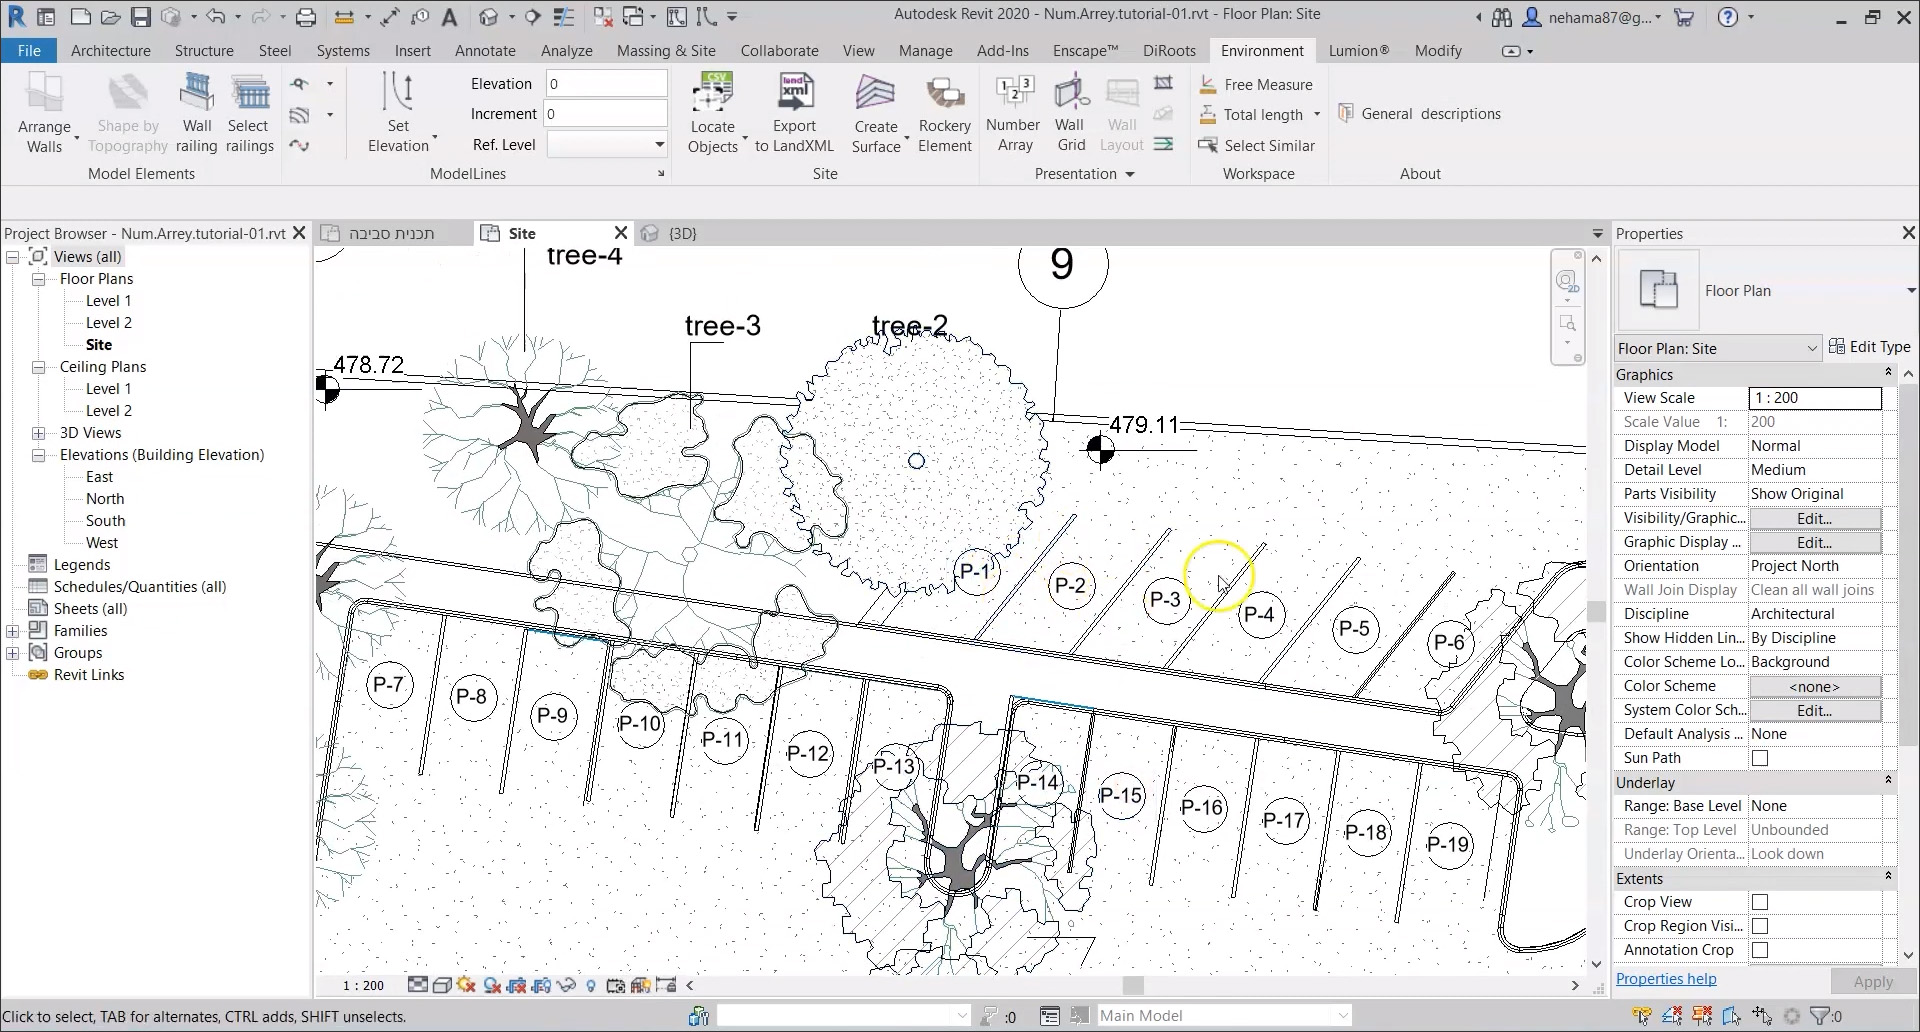
Another tool in the Environment plug-in that can be used with any Revit element is an automatic numbering tool for an array of elements. For landscape design, in particular, it can be used for elements such as trees, shrubs, lighting fixtures, parking spots, etc. The tool lets you specify a parameter according to the selected element you want to number, and you can specify settings such as the starting value, increment, prefix if any, etc. Subsequently, you just need to select the elements in the order in which they are to be numbered, and the correct parameters are automatically applied (Figure 10). There is also the option to select the elements by drawing a line crossing them instead of selecting them one by one.
Given how new the Environment plug-in is, I was extremely impressed that it has already developed into a tool that professional landscape architects can use on their Revit projects, with capabilities for modeling terrain from scratch, visualizing and analyzing topography, creating outdoor walls and railings quickly along sloped surfaces, and other useful tasks. Additional features currently under development are a set of tools for the automation of graded regions, more accurate cut-and-fill calculations, presentation road markings, and array placement along a path. More advanced capabilities such as irrigation plans, which would require working with MEP elements in Revit, are also on the roadmap.
With regard to libraries of plants, the plug-in currently uses those that come with Revit, but this might be an area for additional development once the plug-in takes off. Similar to component libraries that are localized for different parts of the world, we could eventually have different planting libraries for different countries.
Given that all elements created with the Environment plug-in are Revit entities, they will work in the same way with all the applications that work with Revit, including those for visualization and rendering. There is also the issue of model size, which Revit is notorious for, and the recommendation for using the plug-in is to create landscape models as separate files that are then linked to the master model, similar to structure, MEP, façade, etc.
In conclusion, I found Environment a handy plug-in for Revit that extends the scope of the application — and all its BIM benefits including automatic change management and deriving the documentation from the model— to the landscape architects working on a project. Developed by professional landscape architects, it captures the required domain expertise and can therefore be used with a high level of confidence. It has a simple and intuitive interface that nicely complements Revit and allows it to be used easily.
As design philosophy becomes more holistic, encompassing both the interior and the exterior of a building, it is important for this to be reflected in the tools used for building design as well, so that landscape architecture is not an afterthought but an integral part of a building design from the get-go.
Lachmi Khemlani is founder and editor of AECbytes. She has a Ph.D. in Architecture from UC Berkeley, specializing in intelligent building modeling, and consults and writes on AEC technology.
Have comments or feedback on this article? Visit its AECbytes blog posting to share them with other readers or see what others have to say.
AECbytes content should not be reproduced on any other website, blog, print publication, or newsletter without permission.